 Almost every house across the world has a kitchen fitted with cabinets. Cleanliness in the kitchen is a must, and thus it is always imperative to give your cabinets a new look after a while.
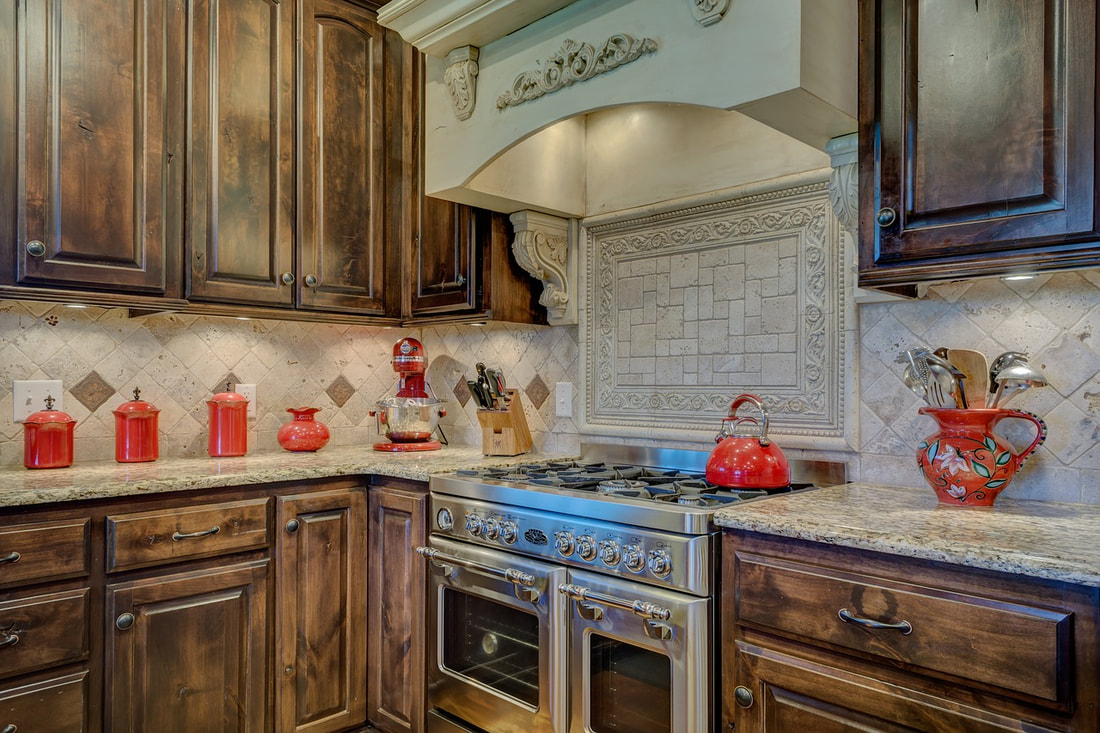
Kitchen cabinets refinishing is one of the best methods to liven your living space and boost the value of your house. Besides, updating the cabinets is an easy way to breathe and feel a new life in your kitchen. It is not worthy of spending much buying new cabinetry while the current ones are not outdated only need refinishing. You can give them a new lease through minimal adjustment and still regain their good condition and stylish look. The following are some guidance on how to refinish kitchen cabinets. Mark the cabinet doors or shelves It is the first step before starting the refinishing process. Cabinet door labels are significant to avoid unnecessary confusion in remembering the right place to fix them back. Thus, it is a time-saving task. Remove the cabinet doors and hinges This will ease the process of refinishing by ensuring every part is given a new look. Since all the items will be installed back to the same place, it is vital to label and secure the hinges and any other hardware. Dust off everything Cleaning everything ensures that all unwanted marks are removed. A little scrubbing is done, and the wood is left to dry completely. Fill the holes and cracks on the kitchen cabinet Dents are filled with wood putty with a color similar or close to the original look and are left to dry. The filler will ensure the refinished cabinets resemble new ones to give your kitchen the desired look. Sand the doors and cabinet shelves When the wood filler is dry, sand all kitchen cabinet areas, be it doors or drawers to clean off undesirable debris. This will give your kitchen cabinets a superior look when finished. Smooth surface will ease the process of paint application. Sandpaper and electric sander are used to provide a more elegant finishing. Sanding leaves a fine layer of dust. Hence, wipe it off by use of dry material or vacuum cleaner. Then prime the surface to ensure no blemish is left on your kitchen cabinet. Application of color coats Since everything seems clean and set, take time to paint and ensure every area has an undercoat. For a professional look, you may need more than one coat. Always ensure the first coat is completely dry before applying the other. Besides, it is vital to give a light sanding after each paint coat to remove any raised part or stain. Probably, you may need light sanding after every layer to achieve a superior look, which is worthy and gives value for your time spent. A sprayer or high-quality painting brush are used for varnish application. Ensure every color to be applied is compatible with the other to attain a smooth and durable finish. You can hire a painting contractor in Vancouver if you want, if you are busy. Install back the hinges and the cabinet doors Once the kitchen cabinets and their doors are dry and have attained the desired look, fix them back carefully. Ensure the replacement is based on the labels or marks on each item. Refinishing is a cost-effective technique that can transform your kitchen cabinets at an affordable cost. Comments are closed.
|
AuthorWrite something about yourself. No need to be fancy, just an overview. Archives
June 2023
Categories |
areas we serve |
company informationADDRESS
Kitchen Remodel Vancouver 8601 NE 86th St Vancouver, WA 98662 BUSINESS HOURS
MONDAY TO SUNDAY 9 AM TO 7 PM Licensed & Insured |
oUR SERVICESOUR SERVICES
Kitchen Remodel Kitchen Renovation Kitchen Design Bathroom Remodel Bathroom Renovation Bathroom Design call us today |
 RSS Feed